I have a theory that usually gets me uninvited to the best tech parties. It is a controversial opinion, the kind that makes people shift uncomfortably in their ergonomic chairs and check their phones. Here it is. AWS is not expensive. AWS is actually a remarkably fair judge of character. Most of us are just bad at using it. We are not unlucky, nor are we victims of some grand conspiracy by Jeff Bezos to empty our bank accounts. We are simply lazy in ways that we are too embarrassed to admit.
I learned this the hard way, through a process that felt less like a financial audit and more like a very public intervention.
The expensive silence of a six-figure mistake
Last year, our AWS bill crossed a number that made the people in finance visibly sweat. It was a six-figure sum appearing monthly, a recurring nightmare dressed up as an invoice. The immediate reactions from the team were predictable: a chorus of denial that sounded like a broken record. People started whispering about the insanity of cloud pricing. We talked about negotiating discounts, even though we had no leverage. There was serious talk of going multi-cloud, which is usually just a way to double your problems while hoping for a synergy that never comes. Someone even suggested going back to on-prem servers, which is the technological equivalent of moving back in with your parents because your rent is too high.
We were looking for a villain, but the only villain in the room was our own negligence. Instead of pointing fingers at Amazon, we froze all new infrastructure for two weeks. We locked the doors and audited why every single dollar existed. It was painful. It was awkward. It was necessary.
We hired a therapist for our infrastructure
What we found was not a technical failure. It was a behavioral disorder. We found that AWS was not charging us for scale. It was charging us for our profound indifference. It was like leaving the water running in every sink in the house and then blaming the utility company for the price of water.
We had EC2 instances sized “just to be safe.” This is the engineering equivalent of buying a pair of XXXL sweatpants just in case you decide to take up sumo wrestling next Tuesday. We were paying for capacity we did not need, for a traffic spike that existed only in our anxious imaginations.
We discovered Kubernetes clusters wheezing along at 15% utilization. Imagine buying a Ferrari to drive to the mailbox at the end of the driveway once a week. That was our cluster. Expensive, powerful, and utterly bored.
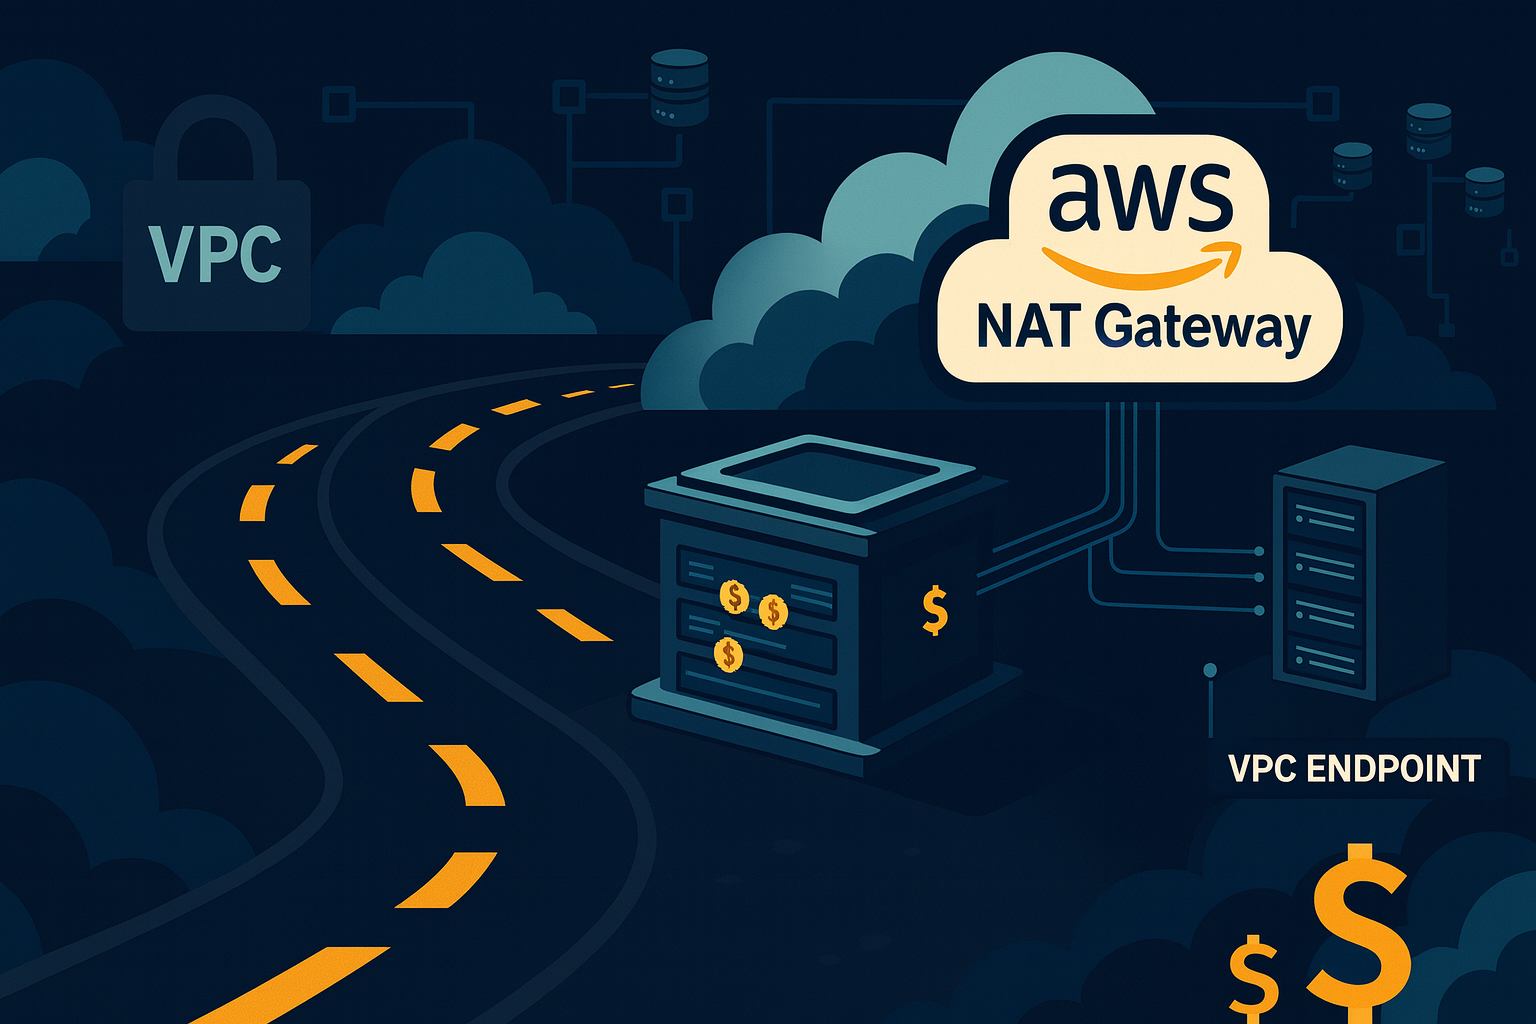
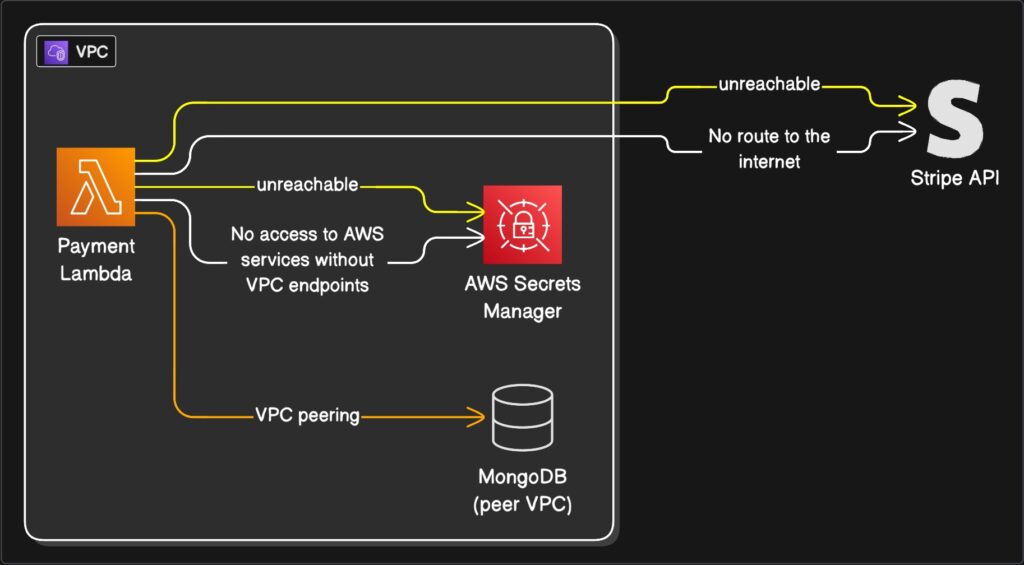
There were NAT Gateways chugging along in the background, charging us by the gigabyte to forward traffic that nobody remembered creating. It was like paying a toll to cross a bridge that went nowhere. We had RDS instances over-provisioned for traffic that never arrived, like a restaurant staffed with fifty waiters for a lunch crowd of three.
Perhaps the most revealing discovery was our log retention policy. We were keeping CloudWatch logs forever because “storage is cheap.” It is not cheap when you are hoarding digital exhaust like a cat lady hoarding newspapers. We had autoscaling enabled without upper bounds, which is a bit like giving your credit card to a teenager and telling them to have fun. We had Lambdas retrying silently into infinity, little workers banging their heads against a wall forever.
None of this was AWS being greedy. This was engineering apathy. This was the result of a comforting myth that engineers love to tell themselves.
The hoarding habit of the modern engineer
“If it works, do not touch it.”
This mantra makes sense for stability. It is a lovely sentiment for a grandmother’s antique clock. It is a disaster for a cloud budget. AWS does not reward working systems. It rewards intentional systems. Every unmanaged default becomes a subscription you never canceled, a gym membership you keep paying for because you are too lazy to pick up the phone and cancel it.
Big companies can survive this kind of bad cloud usage because they can hide the waste in the couch cushions of their massive budgets. Startups cannot. For a startup, a few bad decisions can double your runway burn, force hiring freezes, and kill experimentation before it begins. I have seen companies rip out AWS, not because the technology failed, but because they never learned how to say no to it. They treated the cloud like an all you can eat buffet, where they forgot to pay the bill first.
Denial is a terrible financial strategy
If your AWS bill feels random, you do not understand your system. If cost surprises you, your architecture is opaque. It is like finding a surprise charge on your credit card and realizing you have no idea what you bought. It is a loss of control.
We realized that if we needed a “FinOps tool” to explain our bill, our infrastructure was already too complex. We did not need another dashboard. We needed a mirror.
The boring magic of actually caring
We did not switch clouds. We did not hire expensive consultants to tell us what we already knew. We did not buy magic software to fix our mess. We did four boring, profoundly unsexy things.
First, every resource needed an owner. We stopped treating servers like communal property. If you spun it up, you fed it. Second, every service needed a cost ceiling. We put a leash on the spending. Third, every autoscaler needed a maximum limit. We stopped the machines from reproducing without permission. Fourth, every log needed a delete date. We learned to take out the trash.
The results were almost insulting in their simplicity. Costs dropped 43% in 30 days. There were no outages. There were no late night heroics. We did not rewrite the core platform. We just applied a little bit of discipline.
Why this makes engineers uncomfortable
Cost optimization exposes bad decisions. It forces you to admit that you over engineered a solution. It forces you to admit that you scaled too early. It forces you to admit that you trusted defaults because you were too busy to read the manual. It forces you to admit that you avoided the hard conversations about budget.
It is much easier to blame AWS. It is comforting to think of them as a villain. It is harder to admit that we built something nobody questioned.
The brutal honesty of the invoice
AWS is not the villain here. It is a mirror. It shows you exactly how careless or thoughtful your architecture is, and it translates that carelessness into dollars. You can call it expensive. You can call it unfair. You can migrate to another cloud provider. But until you fix how you design systems, every cloud will punish you the same way. The problem is not the landlord. The problem is how you are living in the house.
It brings me to a final question that every engineering leader should ask themselves. If your AWS bill doubled tomorrow, would you know why? Would you know exactly where the money was going? Would you know what to delete first?
If the answer is no, the problem is not AWS. And deep down, in the quiet moments when the invoice arrives, you already know that. This article might make some people angry. That is good. Anger is cheaper than denial. And frankly, it is much better for your bottom line.