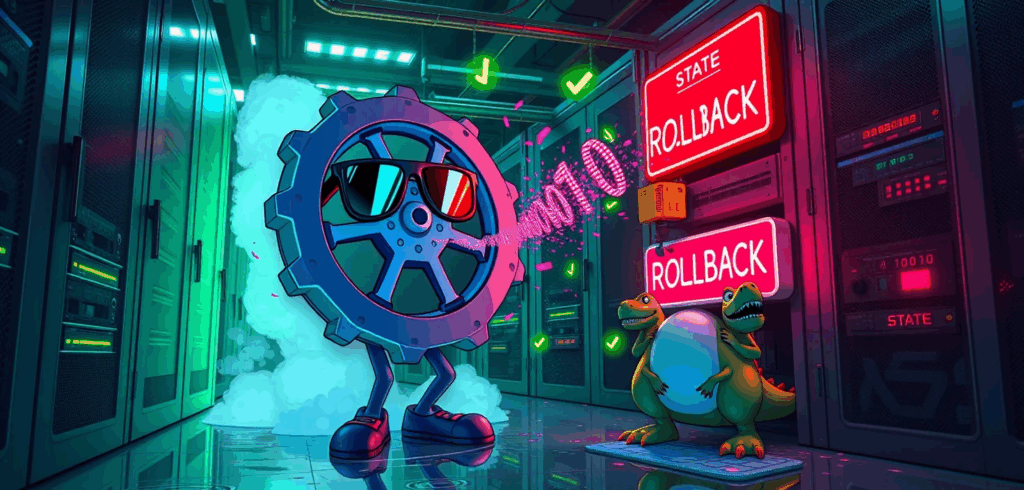
The PagerDuty alert screams. The new release, born just minutes ago with such promising release notes, is coughing up blood in production. The team’s Slack channel is a frantic mess of flashing red emojis. Someone, summoning the voice of a panicked adult, yells the magic word: “ROLLBACK!”
And so, Helm, our trusty tow-truck operator, rides in with a smile, waving its friendly green check marks. The dashboards, those silent accomplices, beam with the serene glow of healthy metrics. Kubernetes probes, ever so polite, confirm that the resurrected pods are, in fact, “breathing.”
Then, production face-plants. Hard.
The feeling is like putting a cartoon-themed bandage on a burst water pipe and then wondering, with genuine surprise, why the living room has become a swimming pool. This article is the autopsy of those “perfect” rollbacks. We’re going to uncover why your monitoring is a pathological liar, how network traffic becomes a double agent, and what to do so that the next time Helm gives you a thumbs-up, you can actually believe it.
A state that refuses to time-travel
The first, most brutal lie a rollback tells you is that it can turn back time. A helm rollback is like the “rewind” button on an old VCR remote; it diligently rewinds the tape (your YAML manifests), but it has absolutely no power to make the actors on screen younger.
Your application’s state is one of those stubborn actors.
While your ConfigMaps and Secrets might dutifully revert to their previous versions, your data lives firmly in the present. If your new release included a database migration that added a column, rolling back the application code doesn’t magically make that column disappear. Now your old code is staring at a database schema from the future, utterly confused, like a medieval blacksmith being handed an iPad.
The same goes for PersistentVolumeClaims, external caches like Redis, or messages sitting in a Kafka queue. The rollback command whispers sweet nothings about returning to a “known good state,” but it’s only talking about itself. The rest of your universe has moved on, and it refuses to travel back with you.
The overly polite doorman
The second culprit in our investigation is the Kubernetes probe. Think of the readinessProbe as an overly polite doorman at a fancy party. Its job is to check if a guest (your pod) is ready to enter. But its definition of “ready” can be dangerously optimistic.
Many applications, especially those running on the JVM, have what we’ll call a “warming up” period. When a pod starts, the process is running, the HTTP port is open, and it will happily respond to a simple /health check. The doorman sees a guest in a tuxedo and says, “Looks good to me!” and opens the door.
What the doorman doesn’t see is that this guest is still stretching, yawning, and trying to remember where they are. The application’s caches are cold, its connection pools are empty, and its JIT compiler is just beginning to think about maybe, possibly, optimizing some code. The first few dozen requests it receives will be painfully slow or, worse, time out completely.
So while your readinessProbe is giving you a green light, your first wave of users is getting a face full of errors. For these sleepy applications, you need a more rigorous bouncer.
A startupProbe is that bouncer. It gives the app a generous amount of time to get its act together before even letting the doorman (readiness and liveness probes) start their shift.
# This probe gives our sleepy JVM app up to 5 minutes to wake up.
livenessProbe:
  httpGet:
    path: /health/live
    port: 8080
  initialDelaySeconds: 15
  periodSeconds: 20
readinessProbe:
  httpGet:
    path: /health/ready
    port: 8080
  initialDelaySeconds: 5
  periodSeconds: 10
startupProbe:
  httpGet:
    path: /health/ready
    port: 8080
  # Kubelet will try 30 times with a 10-second interval (300 seconds).
  # If the app isn't ready by then, the pod will be restarted.
  failureThreshold: 30
  periodSeconds: 10
Without it, your rollback creates a fleet of pods that are technically alive but functionally useless, and Kubernetes happily sends them a flood of unsuspecting users.
Traffic, the double agent
And that brings us to our final suspect: the network traffic itself. In a modern setup using a service mesh like Istio or Linkerd, traffic routing is a sophisticated dance. But even the most graceful dancer can trip.
When you roll back, a new ReplicaSet is created with the old pod specification. The service mesh sees these new pods starting up, asks the doorman (readinessProbe) if they’re good to go, gets an enthusiastic “yes!”, and immediately starts sending them a percentage of live production traffic.
This is where all our problems converge. Your service mesh, in its infinite efficiency, has just routed 50% of your user traffic to a platoon of sleepy, confused pods that are trying to talk to a database from the future.
Let’s look at the evidence. This VirtualService, which we now call “The 50/50 Disaster Splitter,” was routing traffic with criminal optimism.
apiVersion: networking.istio.io/v1beta1
kind: VirtualService
metadata:
  name: checkout-api-vs
  namespace: prod-eu-central
spec:
  hosts:
    - "checkout.api.internal"
  http:
    - route:
        - destination:
            host: checkout-api-svc
            subset: v1-stable
          weight: 50 # 50% to the (theoretically) working pods
        - destination:
            host: checkout-api-svc
            subset: v1-rollback
          weight: 50 # 50% to the pods we just dragged from the past
The service mesh isn’t malicious. It’s just an incredibly efficient tool that is very good at following bad instructions. It sees a green light and hits the accelerator.
A survival guide that won’t betray you
So, you’re in the middle of a fire, and the “break glass in case of emergency” button is a lie. What do you do? You need a playbook that acknowledges reality.
Step 0: Breathe and isolate the blast radius
Before you even think about rolling back, stop the bleeding. The fastest way to do that is often at the traffic level. Use your service mesh or ingress controller to immediately shift 100% of traffic back to the last known good version. Don’t wait for new pods to start. This is a surgical move that takes seconds and gives you breathing room.
Step 1: Declare an incident and gather the detectives
Get the right people on a call. Announce that this is not a “quick rollback” but an incident investigation. Your goal is to understand why the release failed, not just to hit the undo button.
Step 2: Perform the autopsy (while the system is stable)
With traffic safely routed away from the wreckage, you can now investigate. Check the logs of the failed pods. Look at the database. Is there a schema mismatch? A bad configuration? This is where you find the real killer.
Step 3: Plan the counter-offensive (which might not be a rollback)
Sometimes, the safest path forward is a roll forward. A small hotfix that corrects the issue might be faster and less risky than trying to force the old code to work with a new state. A rollback should be a deliberate, planned action, not a panic reflex. If you must roll back, do it with the knowledge you’ve gained from your investigation.
Step 4: The deliberate, cautious rollback
If you’ve determined a rollback is the only way, do it methodically.
- Scale down the broken deployment:
kubectl scale deployment/checkout-api –replicas=0 - Execute the Helm rollback:
helm rollback checkout-api 1 -n prod-eu-central - Watch the new pods like a hawk: Monitor their logs and key metrics as they come up. Don’t trust the green check marks.
- Perform a Canary Release: Once the new pods look genuinely healthy, use your service mesh to send them 1% of the traffic. Then 10%. Then 50%. Then 100%. You are now in control, not the blind optimism of the automation.
The truth will set you free
A Kubernetes rollback isn’t a time machine. It’s a YAML editor with a fancy title. It doesn’t understand your data, it doesn’t appreciate your app’s need for a morning coffee, and it certainly doesn’t grasp the nuances of traffic routing under pressure.
Treating a rollback as a simple, safe undo button is the fastest way to turn a small incident into a full-blown outage. By understanding the lies it tells, you can build a process that trusts human investigation over deceptive green lights. So the next time a deployment goes sideways, don’t just reach for the rollback lever. Reach for your detective’s hat instead.