CloudStorage

How to mount AWS EFS on EKS for scalable storage solutions

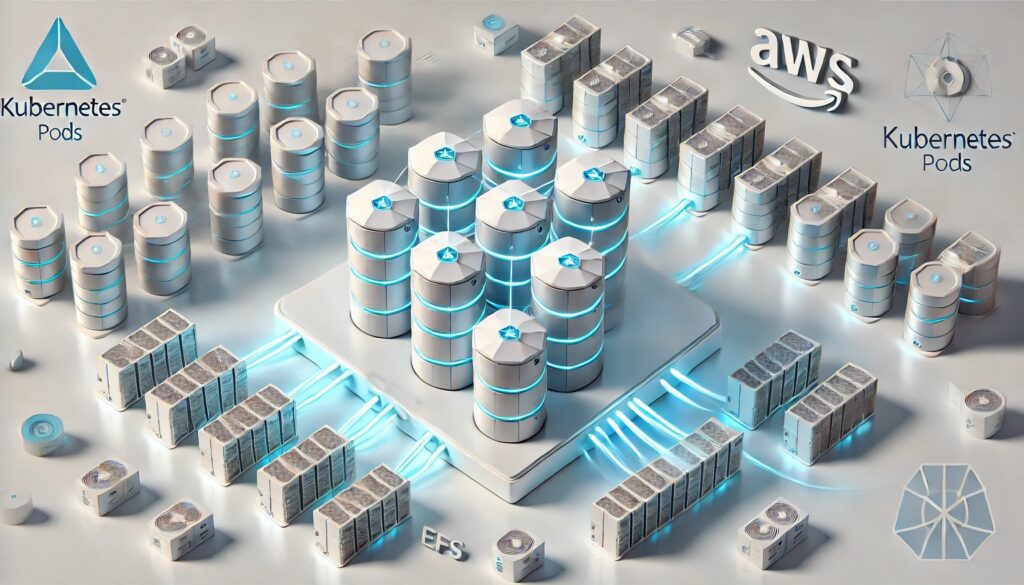
Suppose you need multiple applications to share files seamlessly, without worrying about running out of storage space or struggling with complex configurations. That’s where AWS Elastic File System (EFS) comes in. EFS is a fully managed, scalable file system that multiple AWS services or containers can access. In this guide, we’ll take a simple yet comprehensive journey through the process of mounting AWS EFS to an Amazon Elastic Kubernetes Service (EKS) cluster. I’ll make sure to keep it straightforward, so you can follow along regardless of your Kubernetes experience.

Why use EFS with EKS?

Before we go into the details, let’s consider why using EFS in a Kubernetes environment is beneficial. Imagine you have multiple applications (pods) that all need to access the same data—like a shared directory of documents. Instead of replicating data for each application, EFS provides a centralized storage solution that can be accessed by all pods, regardless of which node they’re running on.

Here’s what makes EFS a great choice for EKS:

  • Shared Storage: Multiple pods across different nodes can access the same files at the same time, making it perfect for workloads that require shared access.
  • Scalability: EFS automatically scales up or down as your data needs change, so you never have to worry about manually managing storage limits.
  • Durability and Availability: AWS ensures that your data is highly durable and accessible across multiple Availability Zones (AZs), which means your applications stay resilient even if there are hardware failures.

Typical use cases for using EFS with EKS include machine learning workloads, content management systems, or shared file storage for collaborative environments like JupyterHub.

Prerequisites

Before we start, make sure you have the following:

  1. EKS Cluster: You need a running EKS cluster, and kubectl should be configured to access it.
  2. EFS File System: An existing EFS file system in the same AWS region as your EKS cluster.
  3. IAM Roles: Correct IAM roles and policies for your EKS nodes to interact with EFS.
  4. Amazon EFS CSI Driver: This driver must be installed in your EKS cluster.

How to mount AWS EFS on EKS

Let’s take it step by step, so by the end, you’ll have a working setup where your Kubernetes pods can use EFS for shared, scalable storage.

Create an EFS file system

To begin, navigate to the EFS Management Console:

  1. Create a New File System: Select the appropriate VPC and subnets—they should be in the same region as your EKS cluster.
  2. File System ID: Note the File System ID; you’ll use it later.
  3. Networking: Ensure that your security group allows inbound traffic from the EKS worker nodes. Think of this as permitting EKS to access your storage safely.

Set up IAM role for the EFS CSI driver

The Amazon EFS CSI driver manages the integration between EFS and Kubernetes. For this driver to work, you need to create an IAM role. It’s a bit like giving the CSI driver its set of keys to interact with EFS securely.

To create the role:

  1. Log in to the AWS Management Console and navigate to IAM.
  2. Create a new role and set up a custom trust policy:
{
   "Version": "2012-10-17",
   "Statement": [
       {
           "Effect": "Allow",
           "Principal": {
               "Federated": "arn:aws:iam::<account-id>:oidc-provider/oidc.eks.<region>.amazonaws.com/id/<oidc-provider-id>"
           },
           "Action": "sts:AssumeRoleWithWebIdentity",
           "Condition": {
               "StringLike": {
                   "oidc.eks.<region>.amazonaws.com/id/<oidc-provider-id>:sub": "system:serviceaccount:kube-system:efs-csi-*"
               }
           }
       }
   ]
}

Make sure to attach the AmazonEFSCSIDriverPolicy to this role. This step ensures that the CSI driver has the necessary permissions to manage EFS volumes.

Install the Amazon EFS CSI driver

You can install the EFS CSI driver using either the EKS Add-ons feature or via Helm charts. I recommend the EKS Add-on method because it’s easier to manage and stays updated automatically.

Attach the IAM role you created to the EFS CSI add-on in your cluster.

(Optional) Create an EFS access point

Access points provide a way to manage and segregate access within an EFS file system. It’s like having different doors to different parts of the same warehouse, each with its key and permissions.

  • Go to the EFS Console and select your file system.
  • Create a new Access Point and note its ID for use in upcoming steps.

Configure an IAM Policy for worker nodes

To make sure your EKS worker nodes can access EFS, attach an IAM policy to their role. Here’s an example policy:

{
   "Version": "2012-10-17",
   "Statement": [
       {
           "Effect": "Allow",
           "Action": [
               "elasticfilesystem:DescribeAccessPoints",
               "elasticfilesystem:DescribeFileSystems",
               "elasticfilesystem:ClientMount",
               "elasticfilesystem:ClientWrite"
           ],
           "Resource": "*"
       }
   ]
}

This ensures your nodes can create and interact with the necessary resources.

Create a storage class for EFS

Next, create a Kubernetes StorageClass to provision Persistent Volumes (PVs) dynamically. Here’s an example YAML file:

apiVersion: storage.k8s.io/v1
kind: StorageClass
metadata:
  name: efs-sc
provisioner: efs.csi.aws.com
parameters:
  fileSystemId: <file-system-id>
  directoryPerms: "700"
  basePath: "/dynamic_provisioning"
  ensureUniqueDirectory: "true"

Replace <file-system-id> with your EFS File System ID.

Apply the file:

kubectl apply -f efs-storage-class.yaml

Create a persistent volume claim (PVC)

Now, let’s request some storage by creating a PersistentVolumeClaim (PVC):

apiVersion: v1
kind: PersistentVolumeClaim
metadata:
  name: efs-pvc
spec:
  accessModes:
    - ReadWriteMany
  resources:
    requests:
      storage: 5Gi
  storageClassName: efs-sc

Apply the PVC:

kubectl apply -f efs-pvc.yaml

Use the EFS PVC in a pod

With the PVC created, you can now mount the EFS storage into a pod. Here’s a sample pod configuration:

apiVersion: v1
kind: Pod
metadata:
  name: efs-app
spec:
  containers:
  - name: app
    image: nginx
    volumeMounts:
    - mountPath: "/data"
      name: efs-volume
  volumes:
  - name: efs-volume
    persistentVolumeClaim:
      claimName: efs-pvc

Apply the configuration:

kubectl apply -f efs-pod.yaml

You can verify the setup by checking if the pod can access the mounted storage:

kubectl exec -it efs-app -- ls /data

A note on direct EFS mounting

You can mount EFS directly into pods without using a Persistent Volume (PV) or Persistent Volume Claim (PVC) by referencing the EFS file system directly in the pod’s configuration. This approach simplifies the setup but offers less flexibility compared to using dynamic provisioning with a StorageClass. Here’s how you can do it:

apiVersion: v1
kind: Pod
metadata:
  name: efs-mounted-app
  labels:
    app: efs-example
spec:
  containers:
  - name: nginx-container
    image: nginx:latest
    volumeMounts:
    - name: efs-storage
      mountPath: "/shared-data"
  volumes:
  - name: efs-storage
    csi:
      driver: efs.csi.aws.com
      volumeHandle: <file-system-id>
      readOnly: false

Replace <file-system-id> with your EFS File System ID. This method works well for simpler scenarios where direct access is all you need.

Final remarks

Mounting EFS to an EKS cluster gives you a powerful, shared storage solution for Kubernetes workloads. By following these steps, you can ensure that your applications have access to scalable, durable, and highly available storage without needing to worry about complex management or capacity issues.

As you can see, EFS acts like a giant, shared repository that all your applications can tap into. Whether you’re working on machine learning projects, collaborative tools, or any workload needing shared data, EFS and EKS together simplify the whole process.

Now that you’ve walked through mounting EFS on EKS, think about what other applications could benefit from this setup. It’s always fascinating to see how managed services can help reduce the time you spend on the nitty-gritty details, letting you focus on building great solutions.

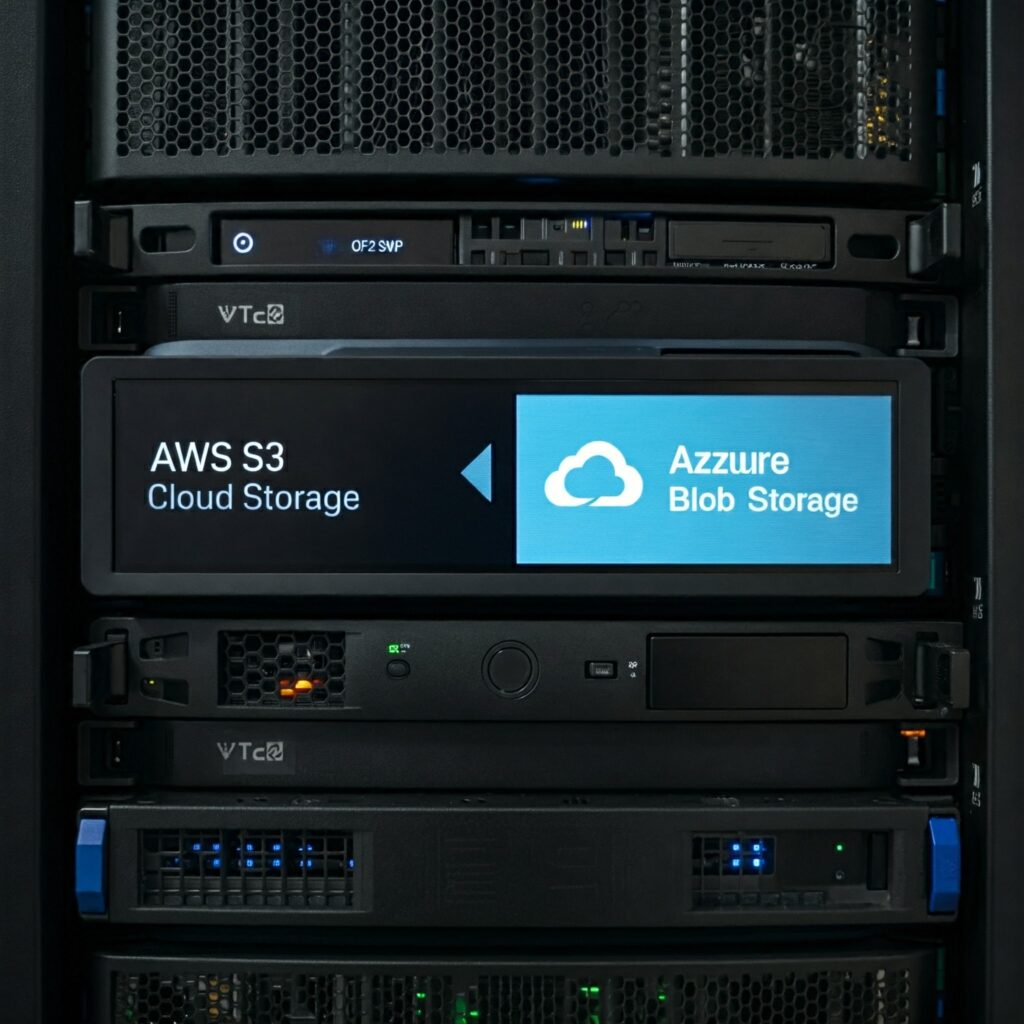
Comparing AWS S3 and Azure Blob Storage

Big tech companies manage millions of files seamlessly. Think of cloud storage as a giant digital warehouse where you can store almost unlimited stuff. Today, we will explore two of the most popular cloud storage solutions: AWS S3 and Azure Blob Storage. Don’t worry if these names sound intimidating, by the end of this article, you’ll understand them as clearly as you understand saving files on your computer.

The basics of object storage

Imagine a massive library, but instead of organizing books on shelves and in sections, each book lives independently with its unique code and description. That’s essentially how object storage works! When you upload a file, whether it’s a photo, a document, or anything else, it becomes an “object” with three key components:

  1. The file itself (like your vacation photo)
  2. A unique identifier (think of it like the file’s address in the storage system)
  3. Metadata (extra information about the file, such as when it was created or who owns it)

This approach makes storing and retrieving vast amounts of data incredibly easy without worrying about running out of space or losing your files. It’s like having a magical library where books never go missing and you can always find exactly what you’re looking for.

AWS S3, the veteran player

Amazon’s S3 (Simple Storage Service) is like the wise old sage of cloud storage. Launched in 2006, it’s seen it all and done it all. Let’s break down why S3 is so special.

What S3 does well:

  • Reliability: S3 is like that friend who never forgets anything. It keeps multiple copies of your files across different locations, ensuring an astounding 99.999999999% durability (that’s eleven nines!).
  • Flexibility: Need different kinds of storage for different use cases? S3 has you covered with various storage classes. It’s like having different types of lockers:
    • Standard (for files you use frequently)
    • Infrequent Access (for cheaper storage if you don’t need files as often)
    • Glacier (super cheap for files you rarely access)
  • Integration: S3 connects seamlessly with a huge ecosystem of other AWS services and third-party tools. It’s like having a universal adapter that plugs into just about anything.

Where S3 could improve:

  • Pricing: The pricing can be tricky to predict, kind of like going to a restaurant where every little extra, like the sauce or side dish, has a separate cost.
  • Feature Overload: With so many features, S3 can feel overwhelming when you’re just getting started, like trying to read an entire encyclopedia in one go.

Azure Blob Storage, the modern challenger

Microsoft’s Azure Blob Storage is like the newer restaurant in town that’s quickly becoming the talk of the neighborhood. It might be younger than S3, but it brings some fresh and exciting ideas to the table.

Azure’s strong points:

  • User-Friendly: If you’re already familiar with Microsoft products, using Azure Blob Storage will feel like second nature.
  • Cost-Effective: For data you access frequently, Azure Blob Storage often offers lower prices, making it an attractive option.
  • Performance: Azure Blob shines when it comes to handling large files and streaming. It’s like having a powerful engine built for heavy lifting.

Room for growth:

  • Fewer storage tiers: Azure Blob Storage doesn’t offer as many storage tier options as S3. If you love having lots of choices, this might feel a little limiting.
  • Ecosystem: While growing, Azure’s ecosystem of third-party tools isn’t as expansive as AWS’s, making integration slightly more challenging in certain cases.

Choosing the right option:

Here are some questions to help you decide between S3 and Azure Blob Storage:

  • What’s your current setup?
    • Already using AWS? S3 is the natural choice.
    • A heavy Microsoft user? Azure Blob Storage will feel like home.
  • What’s your budget?
    • Frequently accessing your data? Azure may offer a more cost-effective solution.
    • Need long-term archival? S3 Glacier’s ultra-low prices for rarely accessed data are hard to beat.
  • How complex are your needs?
    • If you need advanced features, S3’s long history gives it an edge.
    • Want simplicity? Azure’s streamlined approach might be a better fit.

The technical showdown

Here’s a quick comparison of the key features:

FeatureAWS S3Azure Blob Storage
Minimum Storage TimeNoneNone
Availability99.99%99.99%
Durability99.999999999%99.999999999%
Storage Classes6 classes4 tiers
Max Object Size5 TB4.75 TB

In summary

Both S3 and Azure Blob Storage are top-notch options, kind of like choosing between two luxury cars. S3 is like a fully loaded vehicle with every possible feature, while Azure Blob Storage is more like a sleek, modern car that’s easier to drive but still packs a punch.

There’s no universal “best” choice. it all depends on your specific needs. Both services will store your data reliably and scale with you as you grow. The key is to match their strengths with what you need.

Pro Tip: Start small with either service and grow as your needs evolve. Both platforms offer free tiers, so you can get started without spending a dime, perfect for testing the waters.

Storage Classes in Kubernetes, Let’s Manage Persistent Data

One essential aspect in Kubernetes is how to handle persistent storage, and this is where Kubernetes Storage Classes come into play. In this article, we’ll explore what Storage Classes are, their key components, and how to use them effectively with practical examples.
If you’re working with applications that need to store data persistently (like databases, file systems, or even just configuration files), you’ll want to understand how these work.

What is a Storage Class?

Imagine you’re running a library (that’s our Kubernetes cluster). Now, you need different types of shelves for different kinds of books, some for heavy encyclopedias, some for delicate rare books, and others for popular paperbacks. In Kubernetes, Storage Classes are like these different types of shelves. They define the types of storage available in your cluster.

Storage Classes allow you to dynamically provision storage resources based on the needs of your applications. It’s like having a librarian who can create the perfect shelf for each book as soon as it arrives.

Key Components of a Storage Class

Let’s break down the main parts of a Storage Class:

  1. Provisioner: This is the system that will create the actual storage. It’s like our librarian who creates the shelves.
  2. Parameters: These are specific instructions for the provisioner. For example, “Make this shelf extra sturdy” or “This shelf should be fireproof”.
  3. Reclaim Policy: This determines what happens to the storage when it’s no longer needed. Do we keep the shelf (Retain) or dismantle it (Delete)?
  4. Volume Binding Mode: This decides when the actual storage is created. It’s like choosing between having shelves ready in advance or building them only when a book arrives.

Creating a Storage Class

Now, let’s create our first Storage Class. We’ll use AWS EBS (Elastic Block Store) as an example. Don’t worry if you’re unfamiliar with AWS, the concepts are similar for other cloud providers.

apiVersion: storage.k8s.io/v1
kind: StorageClass
metadata:
  name: fast-storage
provisioner: ebs.csi.aws.com
parameters:
  type: gp3
reclaimPolicy: Delete
volumeBindingMode: WaitForFirstConsumer

Let’s break this down:

  • name: fast-storage: This is the name we’re giving our Storage Class.
  • provisioner: ebs.csi.aws.com: This tells Kubernetes to use the AWS EBS CSI driver to create the storage.
  • parameters: type: gp3: This specifies that we want to use gp3 EBS volumes, which are a type of fast SSD storage in AWS.
  • reclaimPolicy: Delete: This means the storage will be deleted when it’s no longer needed.
  • volumeBindingMode: WaitForFirstConsumer: This tells Kubernetes to wait until a Pod actually needs the storage before creating it.

Using a Storage Class

Now that we have our Storage Class, how do we use it? We use it when creating a Persistent Volume Claim (PVC). A PVC is like a request for storage from an application.

Here’s an example of a PVC that uses our Storage Class:

apiVersion: v1
kind: PersistentVolumeClaim
metadata:
  name: my-app-storage
spec:
  accessModes:
    - ReadWriteOnce
  storageClassName: fast-storage
  resources:
    requests:
      storage: 5Gi

Let’s break this down too:

  • name: my-app-storage: This is the name of our PVC.
  • accessModes: – ReadWriteOnce: This means a single node can mount the storage as read-write.
  • storageClassName: fast-storage: This is where we specify which Storage Class to use, it matches the name we gave our Storage Class earlier.
  • storage: 5Gi: This is requesting 5 gigabytes of storage.

Real-World Use Case

Let’s imagine we’re running a photo-sharing application. We need fast storage for the database that stores user information and slower, cheaper storage for the actual photos.

We could create two Storage Classes:

  1. A “fast-storage” class (like the one we created above) for the database.
  2. A “bulk-storage” class for the photos, perhaps using a different type of EBS volume that’s cheaper but slower.

Then, we’d create two PVCs (Persistent Volume Claim), one for each Storage Class. Our database Pod would use the PVC with the “fast-storage” class, while our photo storage Pod would use the PVC with the “bulk-storage” class.

This way, we’re optimizing our storage usage (and costs) based on the needs of different parts of our application.

In Summary

Storage Classes in Kubernetes provide a flexible and powerful way to manage different types of storage for your applications. By understanding and using Storage Classes, you can ensure your applications have the storage they need while keeping your infrastructure efficient and cost-effective.

Whether you’re working with AWS EBS, Google Cloud Persistent Disk, or any other storage backend, Storage Classes are an essential tool in your Kubernetes toolkit.